Definition : Windfall
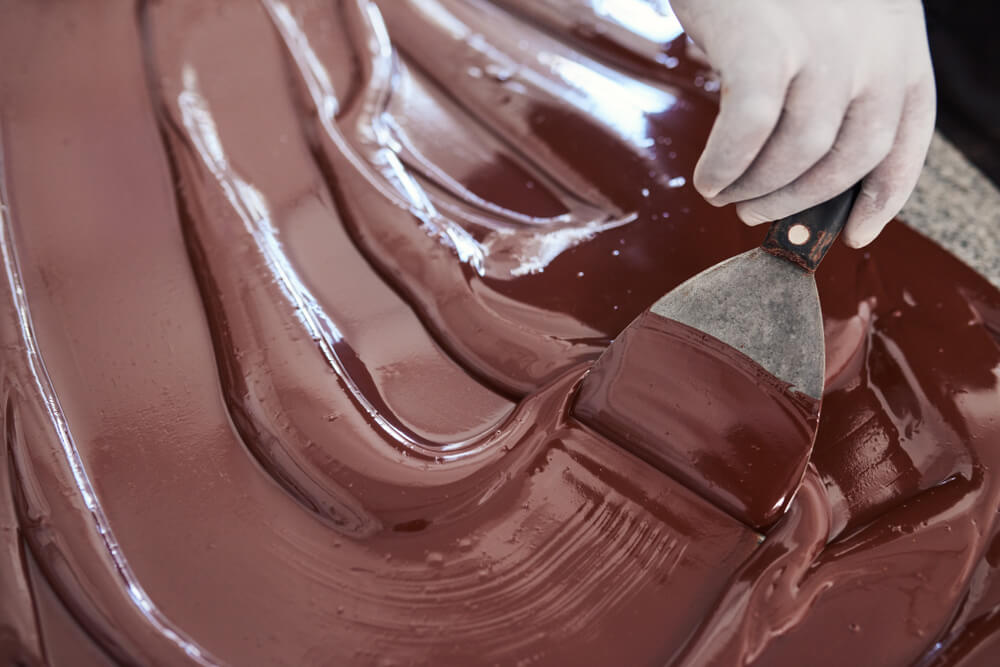
Chablonnage is a technique whereby a layer of melted chocolate is applied to a support, usually made of plastic or silicone, to obtain a defined, regular shape after cooling. This technique is highly appreciated by chocolatiers and patissiers, as it offers the possibility of creating unique and varied decorations.
The advantages of windthrowing :
Precise shapes and patterns :
Chablonnage produces perfect, even shapes in contour and pattern. This result is difficult to achieve freehand, even with extensive pastry or chocolate-making experience. The chablonnage method ensures respect for proportions and details.
Quality and consistency of results:
Thanks to chablonnage, chocolate creations have a consistent quality and identical appearance. So you can offer chocolate decorations or bonbons with the guarantee of a visually homogeneous result that's easy to reproduce.
The equipment required for windthrowing :
- Chablons: these are rigid or flexible plastic shapes in different forms (hearts, flowers, stars, etc.), which are placed on a support to be filled with chocolate.
- A support: this can be a silicone tray, a silpat mat or a baking sheet made of greaseproof paper.
- Couverture chocolate: choose a good-quality chocolate suitable for chablonnage and tempering.
- An angled spatula: to place and spread the melted chocolate on the chablon.
- A thermometer: indispensable for checking the temperature of the chocolate during tempering.
The key stages of windthrowing :
1. Temper the chocolate :
Tempering is a crucial step in obtaining brilliant, well-crystallized chocolate. It involves melting the chocolate at a precise temperature, then gradually cooling it, while stirring regularly. Tempering temperatures vary according to the type of chocolate (dark, milk or white), but must be controlled to obtain a fluid, smooth texture.
2. Choosing a template and preparing the substrate:
Select the template corresponding to the shape you wish to make and place it on your chosen support (silicone plate, silpat mat, baking paper...). Make sure it is stable and free of air bubbles to ensure a clean result after demolding.
3. Apply melted chocolate:
Once the chocolate is tempered and at the right temperature, pour a sufficient quantity onto the chablon using an angled spatula. The idea is to fill the cavities of the chablon completely with chocolate, without overflowing. You can use a gloved finger to help distribute the chocolate into the smallest nooks and crannies if necessary.
4. Level the surface:
Use the angled spatula to smooth and level the surface of your chocolate creations. Don't hesitate to remove excess chocolate for fine, elegant decorations.
5. Tap the holder :
To remove any air bubbles and ensure good adhesion of the chocolate to the chablon, lightly tap the base on a clean work surface.
6. Allow chocolate to harden:
Leave your chocolate creations to rest at room temperature or in a cool place (but not in the refrigerator) until they have set. The time required will depend on the thickness of the decorations and the drying conditions.
7. Unmold creations :
Once the chocolate has hardened, you can remove it from the mold. To do this, gently lift the chablon and it should detach naturally, revealing your perfectly shaped and even chocolate creations.
Chablonnage, a true art mastered by professionals, will sublimate your chocolate creations and impress your friends and family. Feel free to experiment with different shapes and sizes of chablons to express your culinary creativity!

